
MYOG: Make your own gear.
Backpacks are the most difficult piece of gear to figure out. As you first get into backpacking, an old hand-me-down will do the job as you fill it to the brim. When you go on your first few trips, you figure out which items come along on the next outing, and which are left at home. As Cameron and I got more into ultralight backpacking, we were having a tough time finding just the right size pack, so we decided to learn how to make our own. We could make them exactly as we needed them!
Version One
After a bit of searching (r/MYOG on reddit and #MYOG on Instagram), we settled on the Bag Buff Mountain Flyer 34L pattern. Stephen does an incredible job laying out the steps, explaining the process, and breaking it down in a way that complete beginners (us!) could understand. It was an excellent way to re-learn the sewing machine, familiarizing ourselves with stitches, bar tacks, and all the materials that go into making a backpack.
One of the most difficult parts of these packs was actually choosing the colors and sourcing the fabric! Since we would be making them totally custom, we wanted some color and flair on the trail.
Cameron chose white X-PAC VX21 for the main fabric, with gold and maroon accents. After purchasing and receiving the materials from Ripstop By The Roll and Seattle Fabrics, we got to work sewing the first backpack. We dubbed it ‘Gryffindor’ for it’s color theme.
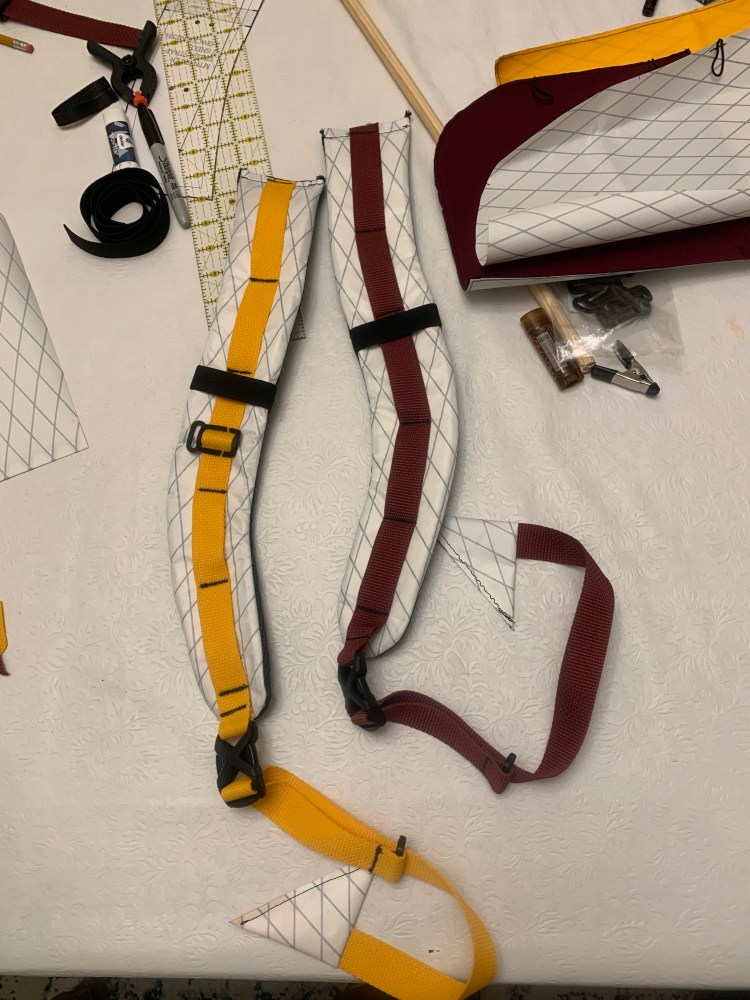
We used Cameron’s mom’s sewing machine, which was still going strong from 1985! And we only broke a couple needles!

After completing the first backpack, Cameron took it on a quick weeknight trip to a backcountry site near Horsetooth Mountain. It was pretty incredible to suddenly have a functional backpacking bag appear out of paper patterns and sharpie marks on fabric!
It worked great! This particular pattern is low volume, meant to be used as an Ultralight bag with minimal amounts of gear taken along. On the downside, it didn’t have a hip belt or frame, so it couldn’t handle heavier loads if needed.
This meant we quickly moved on to version two: My backpack! With the knowledge and confidence of making one backpack, we launched into modifying the pattern to fit what we wanted.
Version Two
This backpack was going to be mine for New Zealand, so we knew it had to handle variable loads of multi-sport goodness! We wanted to add thick straps to the bottom to attach my DIY packraft to, a hipbelt for additional weight-bearing capabilities, and a minimal frame to help keep everything vertical.
We also realized that the main body fabric that Cameron used, VX21, was thicker than necessary. I used X-Pac VX07 on mine, which is quite a bit lighter, but still very strong and waterproof!

Though we started with the same pattern, we modified it in a few places; first, we changed the side panels to go all the way to the top to aid in assembly, since the curved seams were a huge hassle last time.
We added a stretch pocket to the bottom of the pack, to put trail trash in, and changed the over the top strap into a y-strap (rather than a single). We have a Hyperlite Mountain Gear pack, but we don’t love the velcro enclosure at the top. It’s quite noisy and it constantly snags our shirt sleeves when we reach into the pack. Because of this, we decided to use plastic KAM snaps on the top edge for closure on mine.
Another change involved the shoulder straps. They are a difficult part of the assembly, since they have a piece of foam inserted along the s-shaped curves after they’ve been sewn together. We decided to bind the edges (rather than sew them face-to-face and flip inside out) on my backpack to make assembly a little easier, and to add the color of this fun grosgrain ribbon we found online!
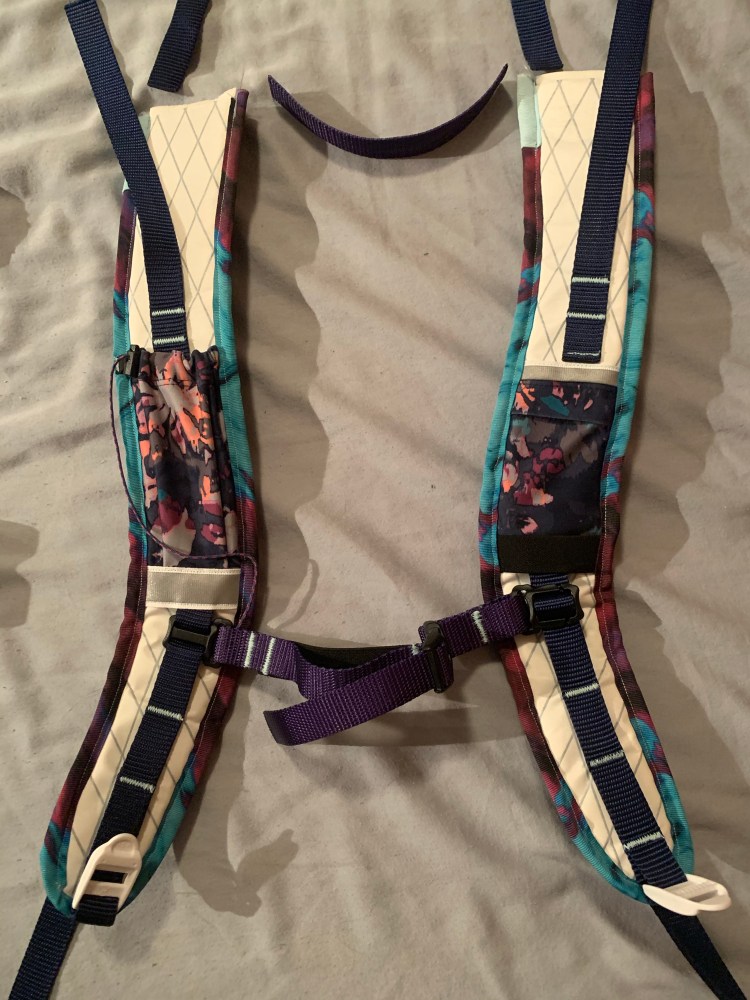
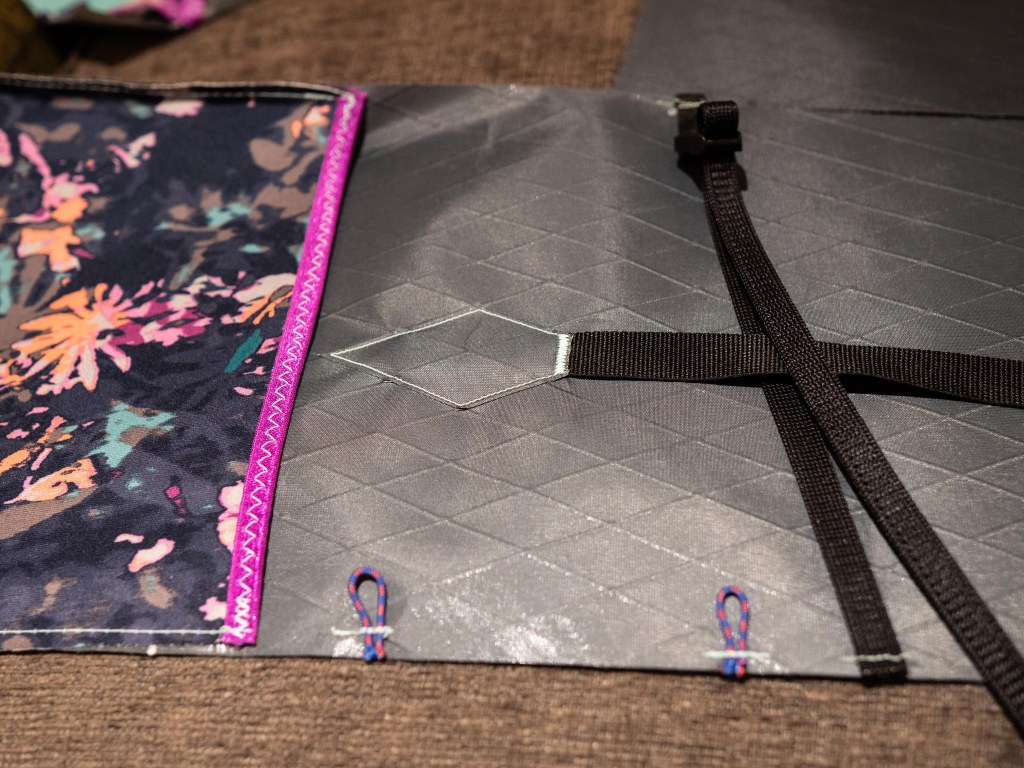
The most difficult part was the panel that goes against your back. We were adding so many things to it! Everything converged at the bottom: The hip belts we added, the bottom of the frame channels, and a small cushion to cover it all up.

We spent many hours thinking and talking over the proper order of sewing things and adding things. We didn’t want to sew over the back cushion, but we also had to sew the channel webbing all the way to the bottom; The hip belt should be sewn underneath the cushion, but couldn’t go over the frame channels. We also added a mesh pocket on the inside to hold my water bladder. It was a great puzzle to figure out!
In the end, we figured out the order and it turned out amazingly! After the back panel was assembled, final assembly of all the separate parts seemed like an easy task.
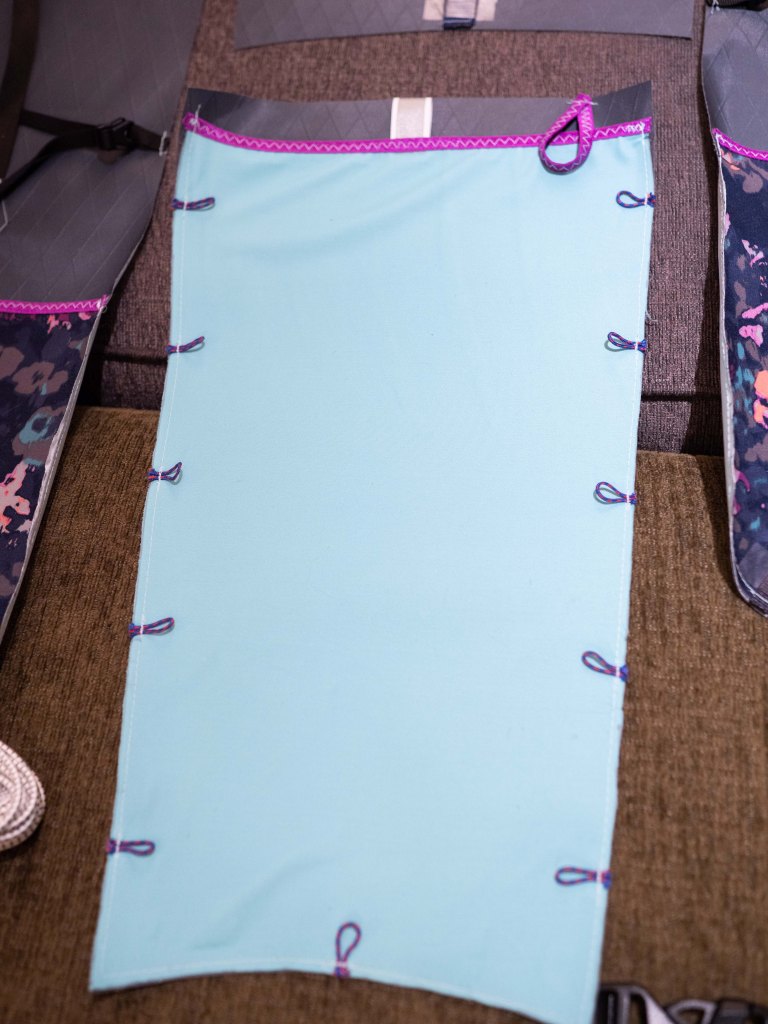
For most of the stretch pockets, we used some of my old yoga pants! They didn’t fit quite right anymore, but I still loved the pattern–and it fit perfectly with the color scheme! I made some little pockets on the shoulder straps just the right size for some chapstick and a tiny flashlight on the left, and some snacks on the right!

On the top of this back assembly, you can also see where I added a water hose pass-through, which I designed as a simple overlap to keep it as rain resistant as possible.
Making your own pack means you can add as many (or as few) straps and features as you want. I added a small stretch loop for one of my favorite products–my Kula cloth!
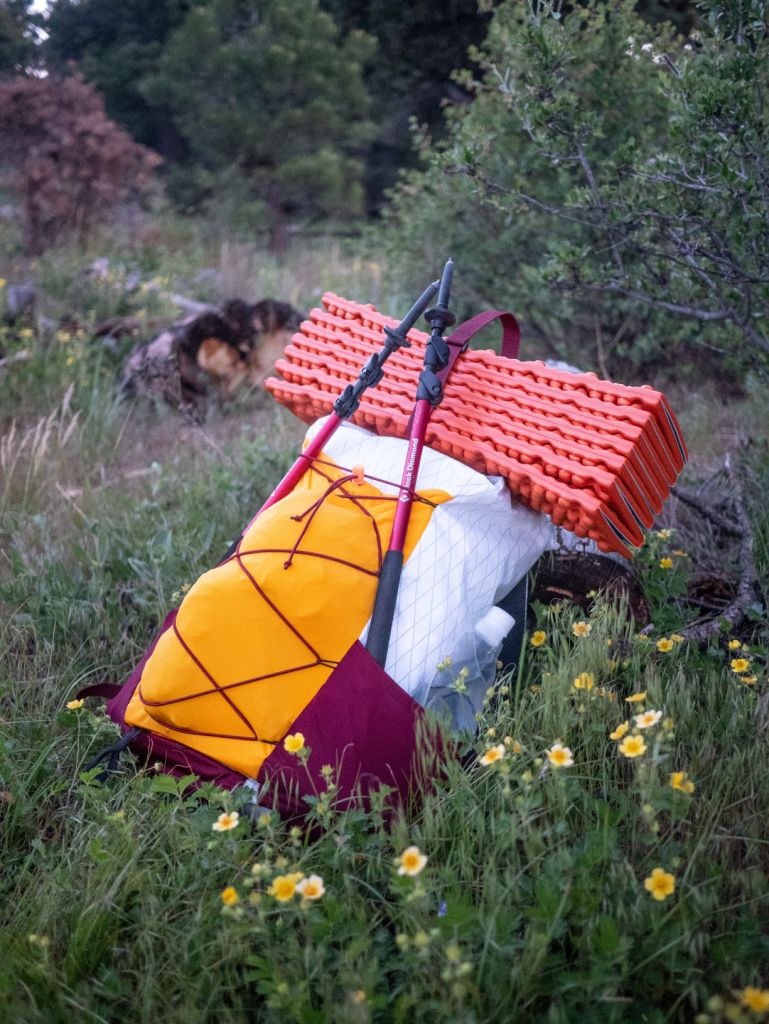
After we had finished sewing it together, we of course had to pack it full of stuff and model it. I attached my DIY packraft to the bottom, put the oars into the straps we had made for them, and strapped our MYOG pyramid tent to the top!


New Zealand
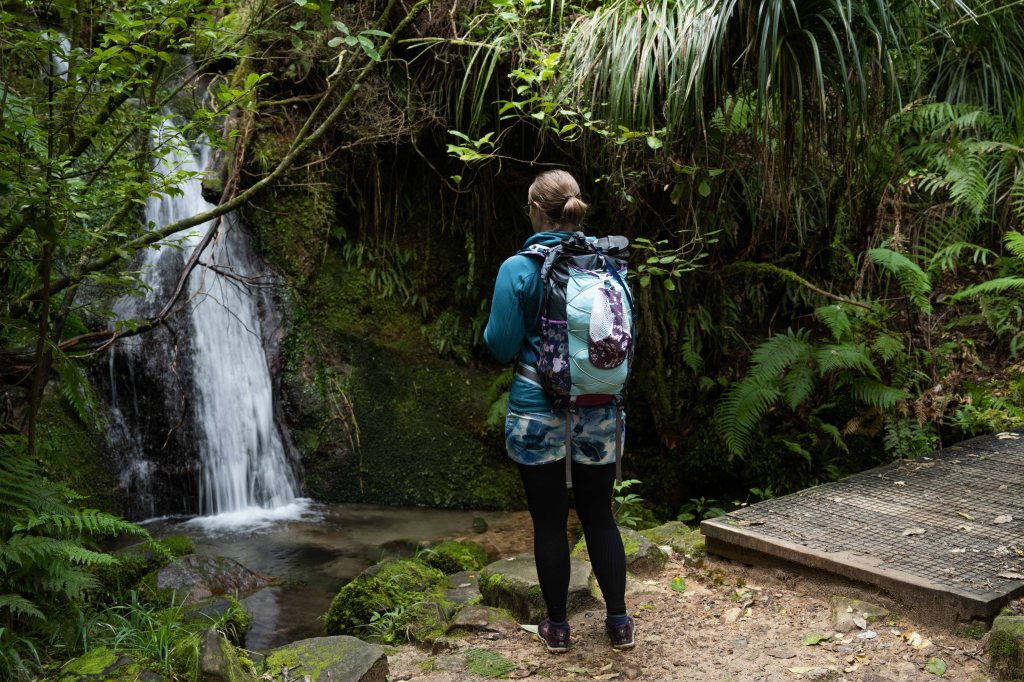
We finished assembling my backpack just before Cameron and I moved to New Zealand, but we added a few finishing touches after we moved (using our sewing machine in the van)! We’ve had so many great adventures using it! From packrafting down the Clutha river to tramping half of the Great Walks, it has rained, snowed and hailed on me, and my custom pack has survived it all comfortably. Here are some highlights of the trips, featuring my backpack!
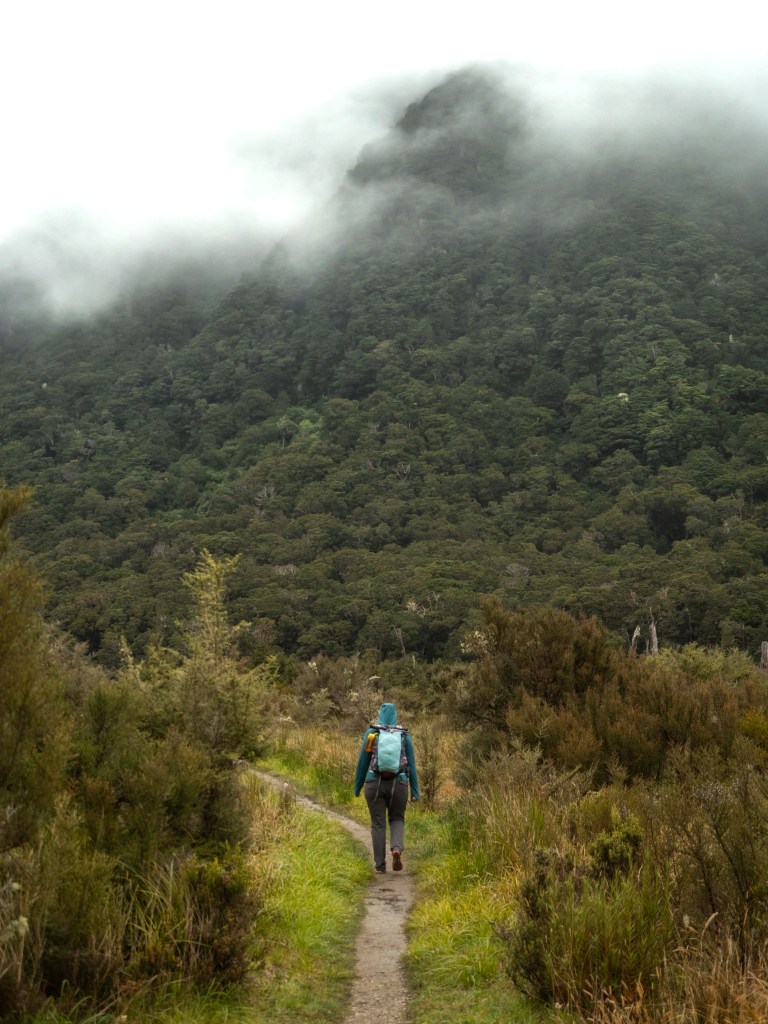
Kepler Track
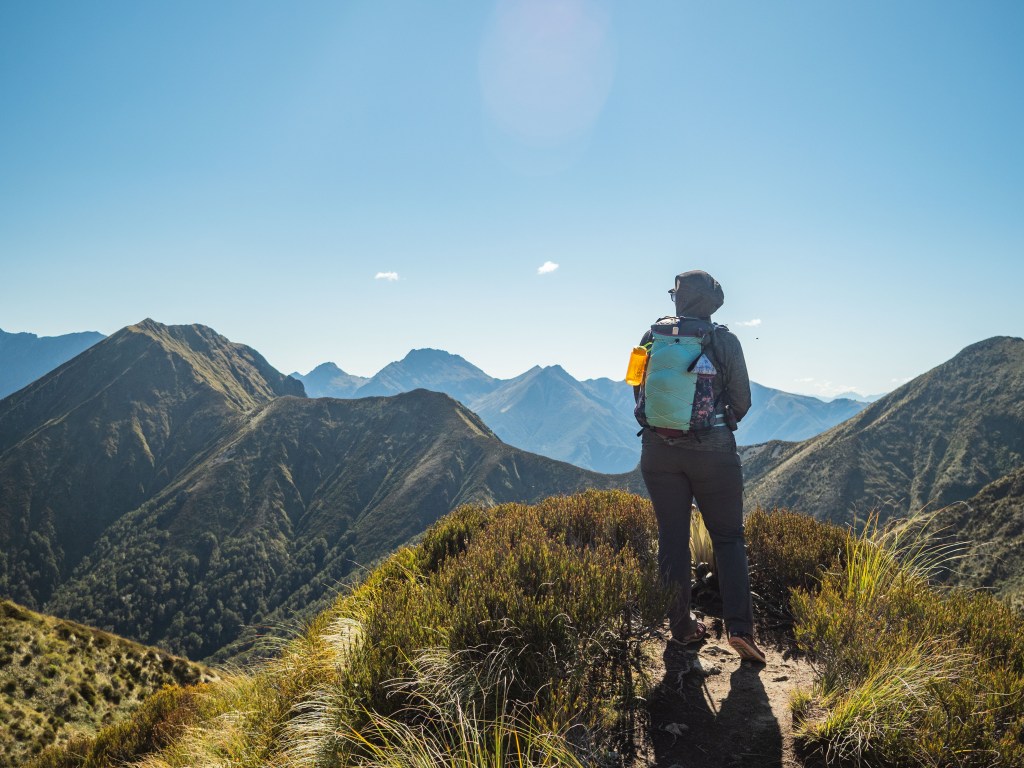

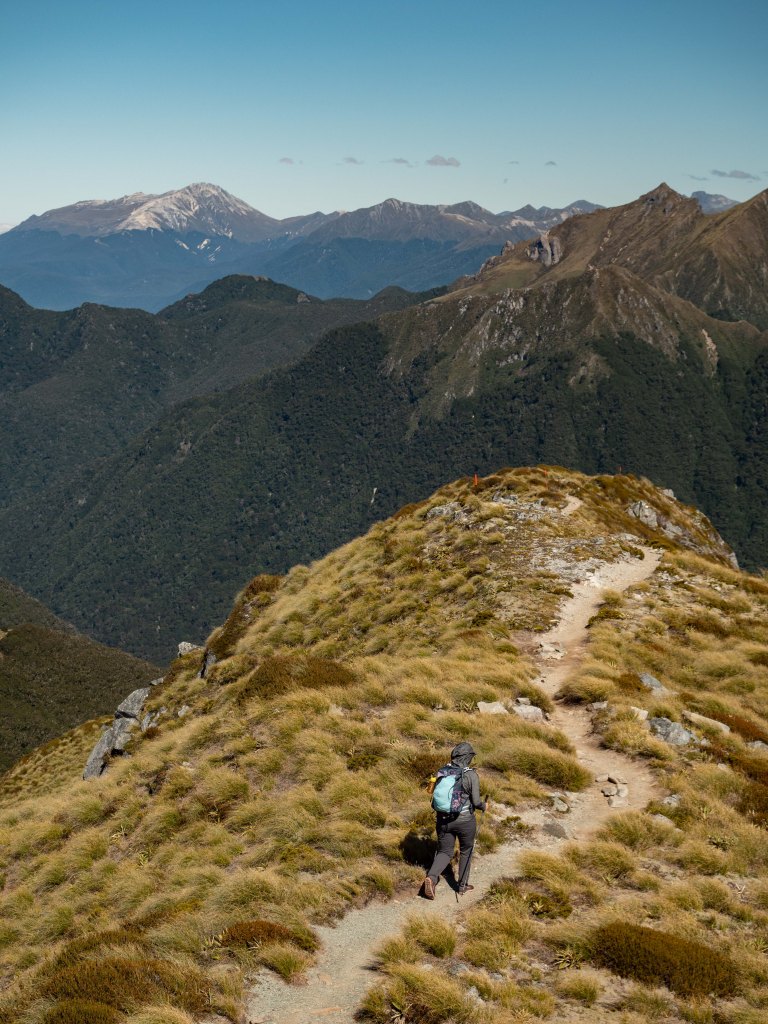
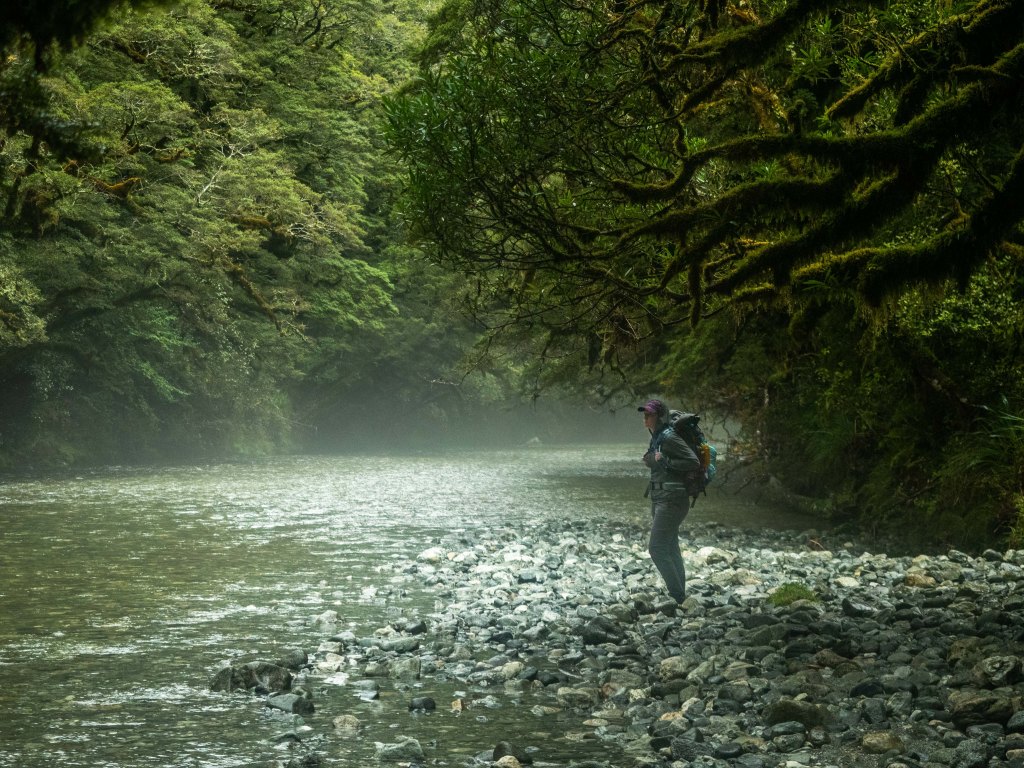
Milford Track


Rakiura Track


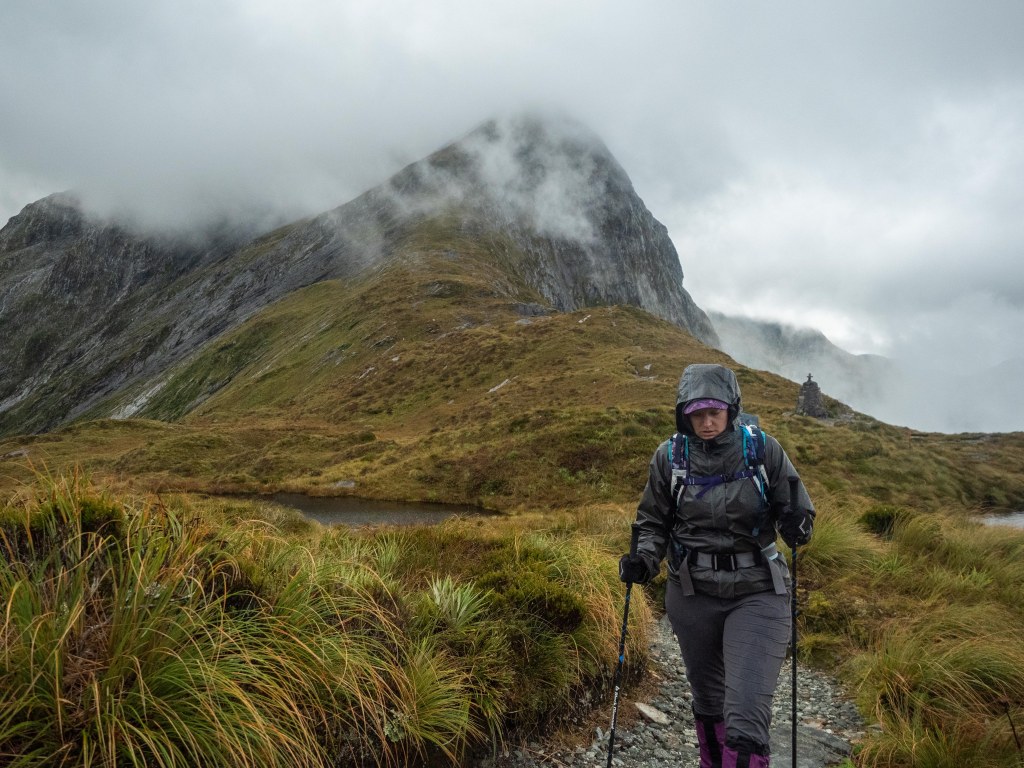
Routeburn Track


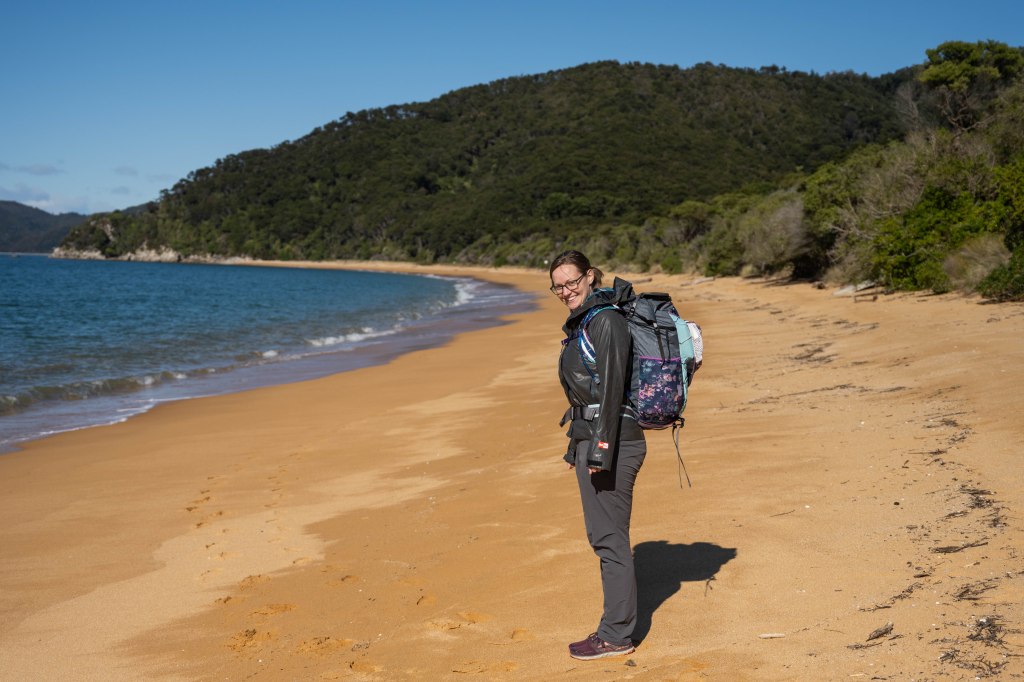
Abel Tasman Coast Track


That’s all for now, thanks for letting me show off my pack!
–Kadi
We have a great relationship with RipstopbytheRoll so the material links are affiliate links, it hasn’t changed the content of the post.

Holy shit! How do you even make a pack! I can’t even sew a button on a shirt! I feel very undomesticated after seeing your post! Lol. It’s awesome though, well done! And I loved your NZ hike pics!
LikeLiked by 1 person