
The biggest draw of making my own gear is that it allows for perfect customization. Often you can buy gear that works pretty well, or that surprisingly fits okay, but you can’t always find that for everything.
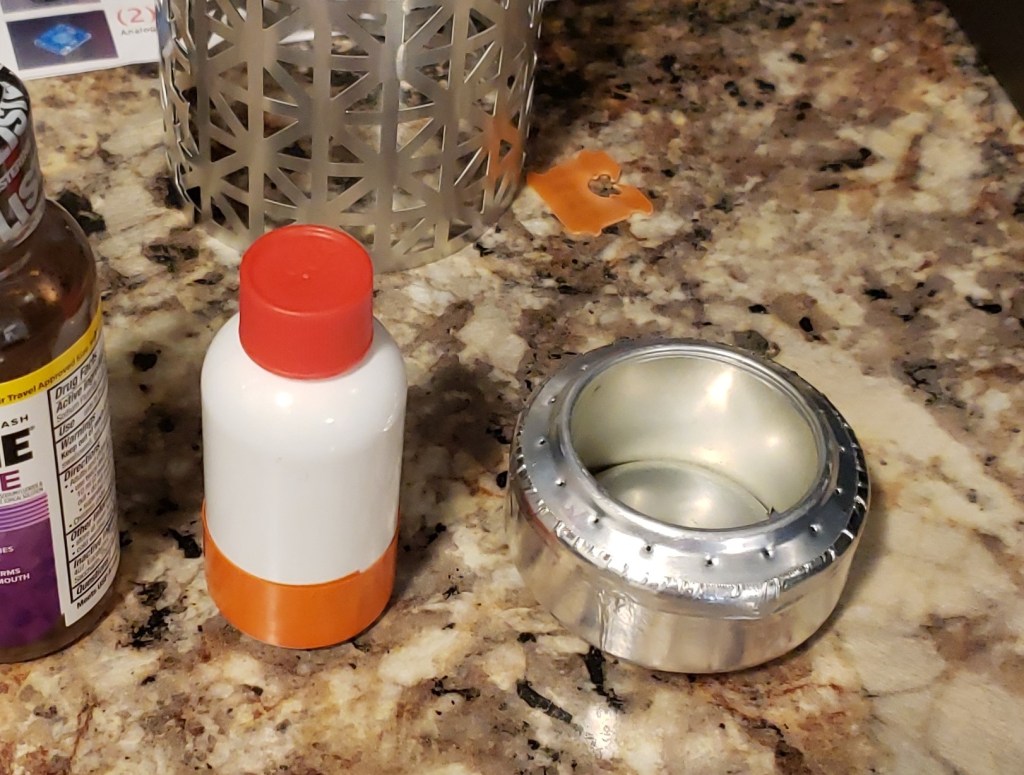
My first taste of homemade gear was quite delicious! –or at least, the stuff I prepared with it was. I found some plans online for the ubiquitous aluminum can alcohol stove, and whipped it up one evening after work.
I brought that stove on just one trip after I made it, since fire bans (and thus, open flame alcohol stoves) came into effect early that season. But I was hooked! It opened my eyes to the possibility of just…making things I needed.
Staying with the food theme, another beginner-friendly MYOG project is the pot coozie. It is basically just an insulating sleeve that you put your pot in to keep it warm after you’ve been cooking. The coozie has changed the way I cook in the backcountry, since you can get your food to just boiling and pop it in there to finish cooking in the (very hot) water, rather than keeping it boiling to finish the pasta, rice, etc.
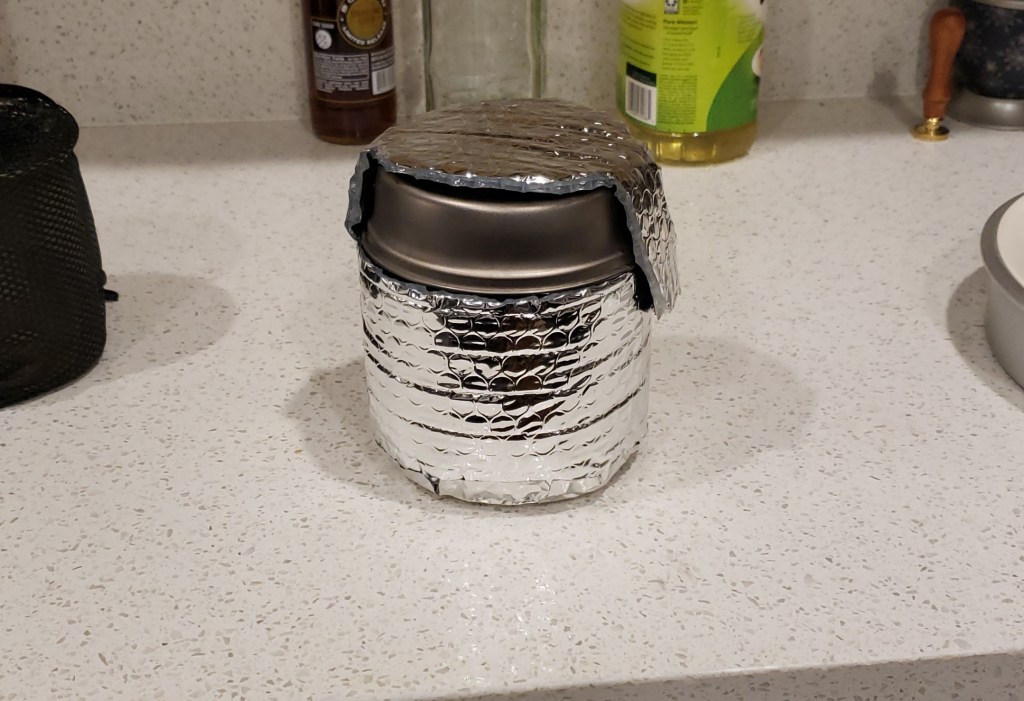
Making it is simple enough. In the US, you can buy rolls of ‘reflectix’ branded aluminized bubble wrap in hardware stores, which can be cut up with scissors and taped together with either duct tape or aluminum tape. I just made a simple rectangle that I taped together into a cylinder, then two circles the approximate size of my pot for the top and bottom.
In the quest for reducing weight everywhere possible, I took aim at my headlamp. I was fortunate enough to have access to a 3D printer through my work, so I decided to use this for my next project.
The Nitecore NU25 is a really good lightweight rechargeable option, but I could never figure out a good way to wear the head strap with a baseball cap. If the strap was worn below the hat, the brim would be illuminated and destroy my night vision; above the hat, and the brim would cast a shadow over the things I wanted to see.
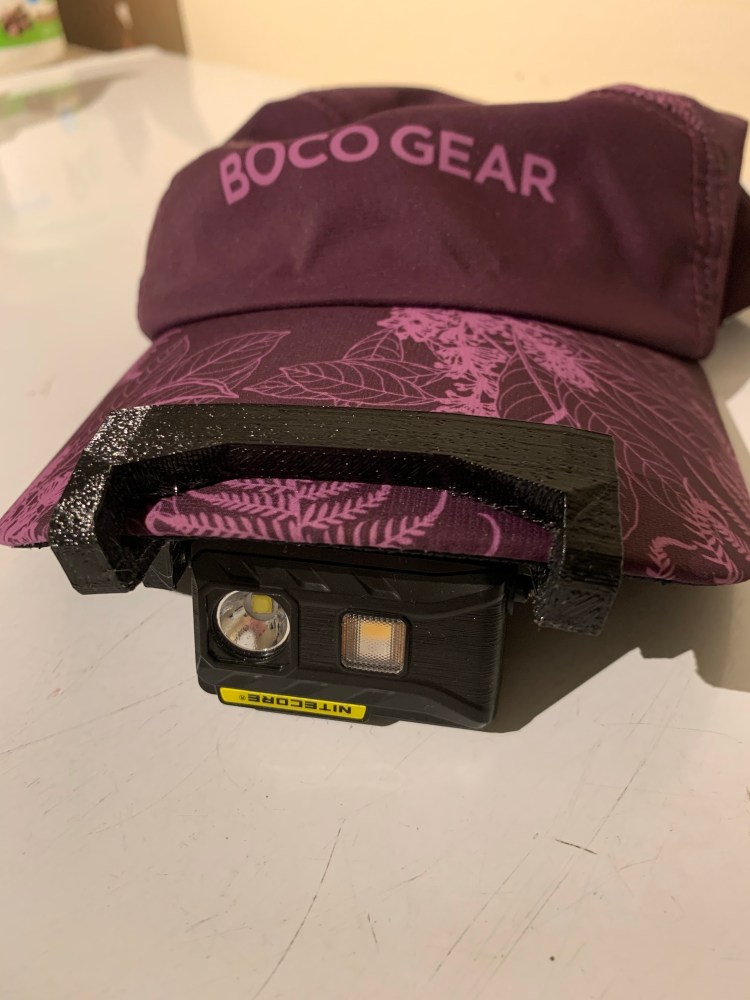
Thus, the hat clip was born! A way to attach the light to the brim of my hat, which could then fold up (more or less) out of the way of my vision when not needed. Plus, it was lighter than the strap, and it didn’t squeeze my head!

I did a couple iterations on this project, and eventually figured out that TPU filament in the 3D printer gave it just the flex it needed to fit over any brim we have.
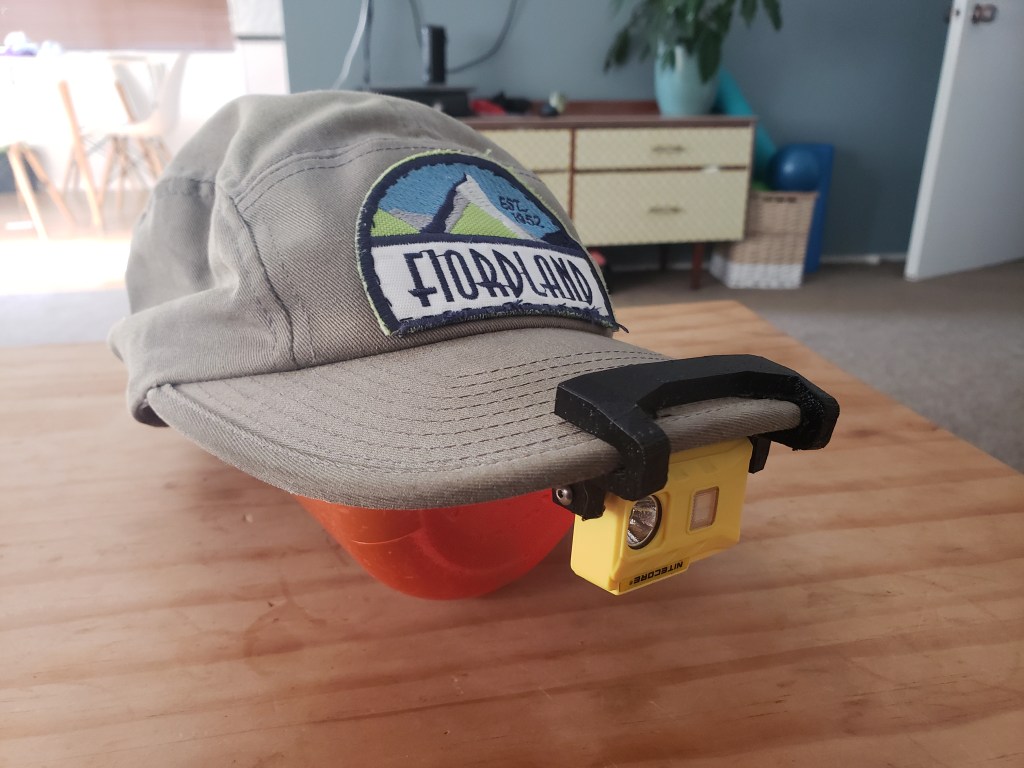
Hat clip! 
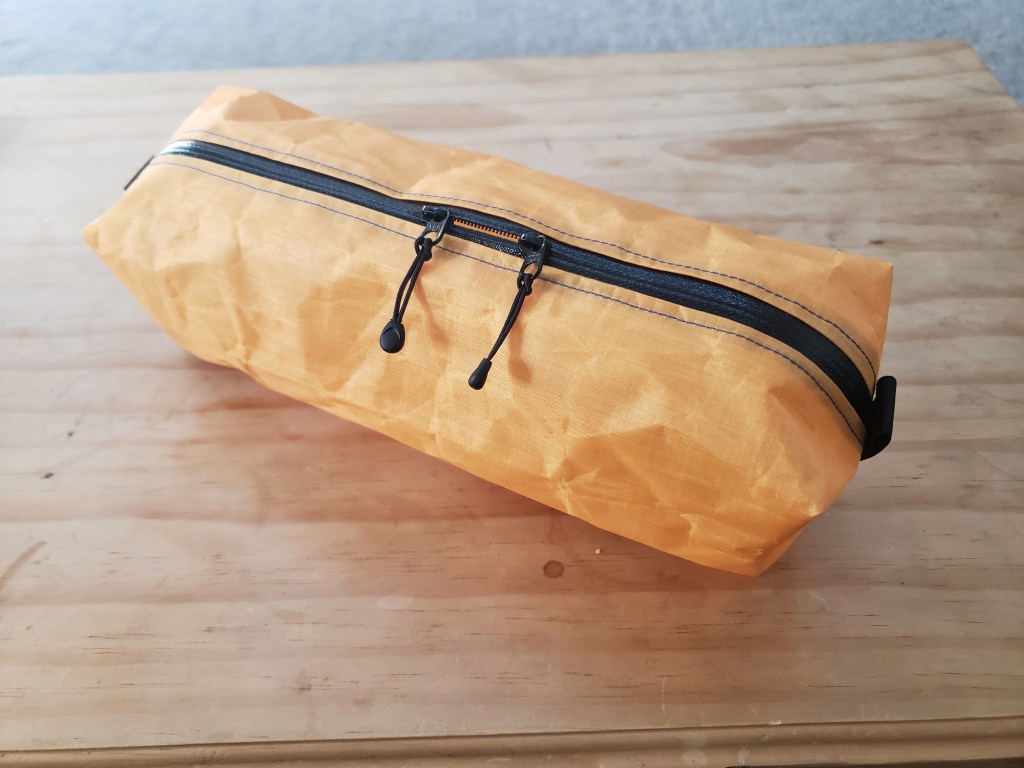
The last small things we made before launching into bigger scale projects were a couple zipper kits from Ripstop by the roll. They were a great way to get reacquainted with the sewing machine, and they gave us a taste of some fun custom colors! On the trail, they work great for separating out smaller clothes in your bag, so we spend less time digging around for all the various hats and gloves that otherwise would get lost in the pack.
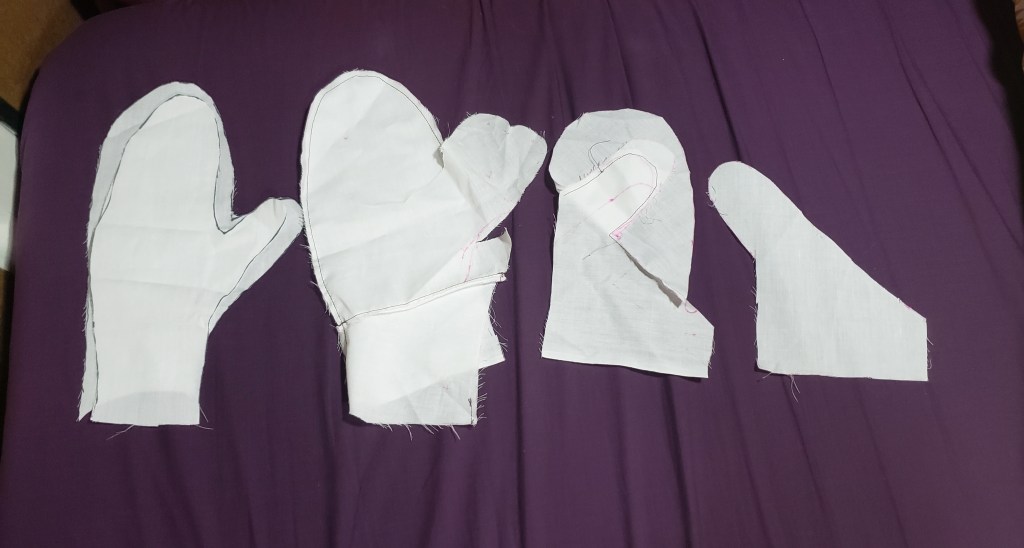
Along the way there were a few failed attempts at gloves and mittens, but those are important for learning and we’re still experimenting with how to make our own rain mitts!
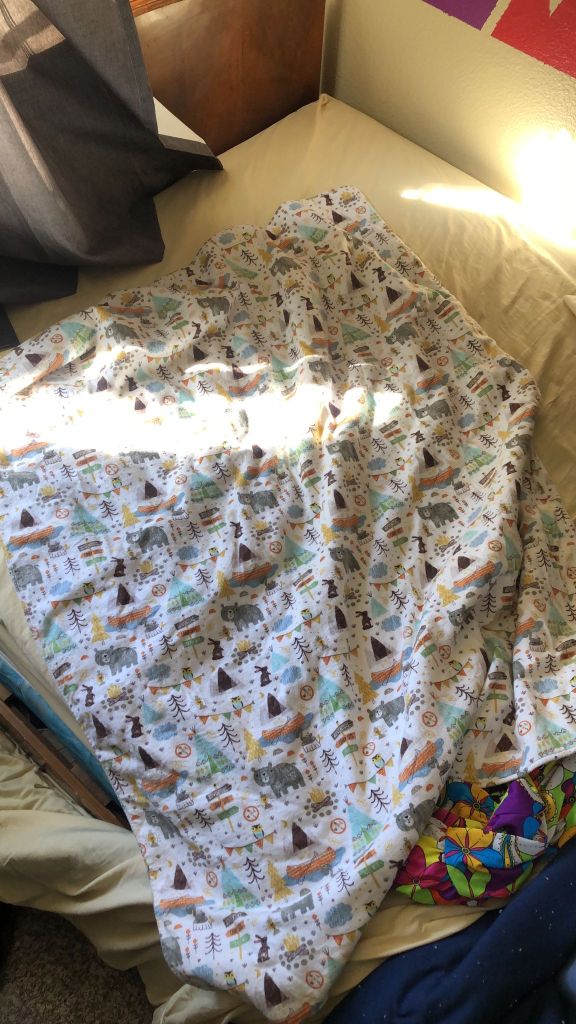
This desire to create things we want has extended beyond just outdoor gear. Kadi was inspired to re-use an old blanket to make three fleece baby blankets for nephews! With some of the extra flannel, she then made a microwavable rice bag for heating sore sewing muscles.
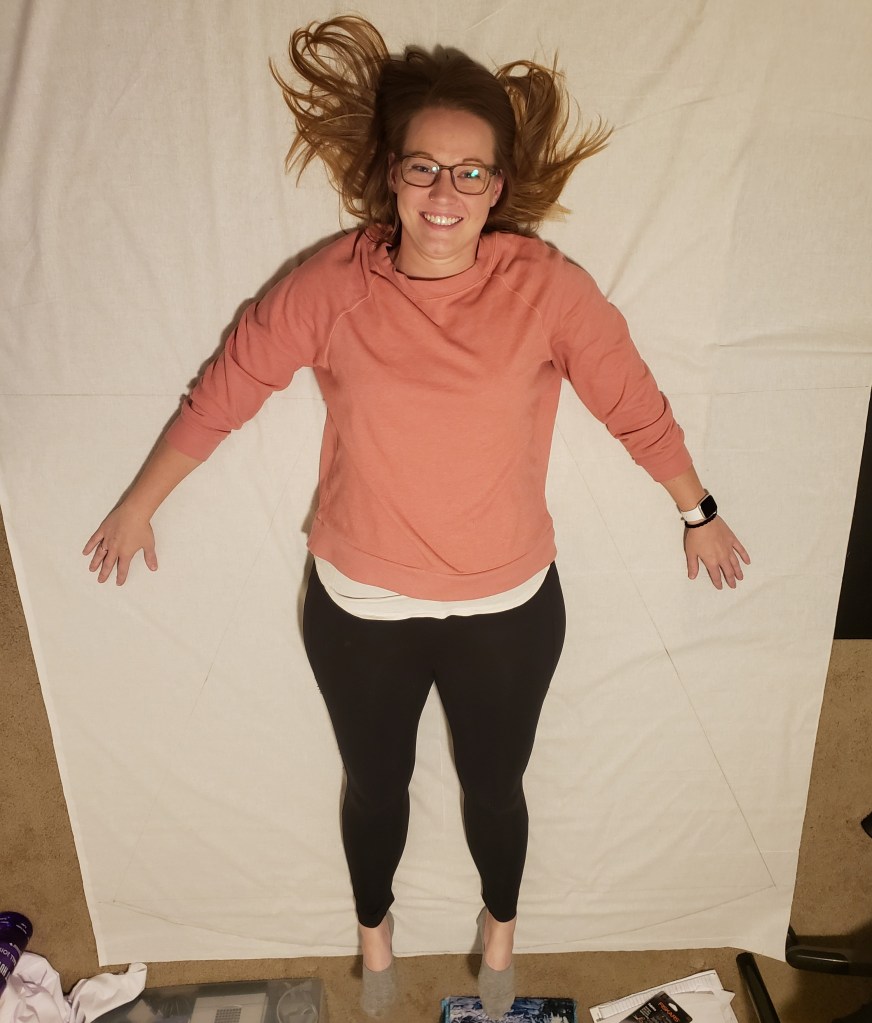
After all this creating, Kadi even designed and made a pattern for the skirt portion of her wedding dress that her Aunt was making for her!

Recently, Kadi injured her knee and her physio recommended using a hand roller to roll out her quads. Her muscles were still very tender and the thought of using a hard plastic roller was painful; plus, they are quite expensive here in New Zealand. I came up with a super simple and easy solution that we could get and make that night. Behold:
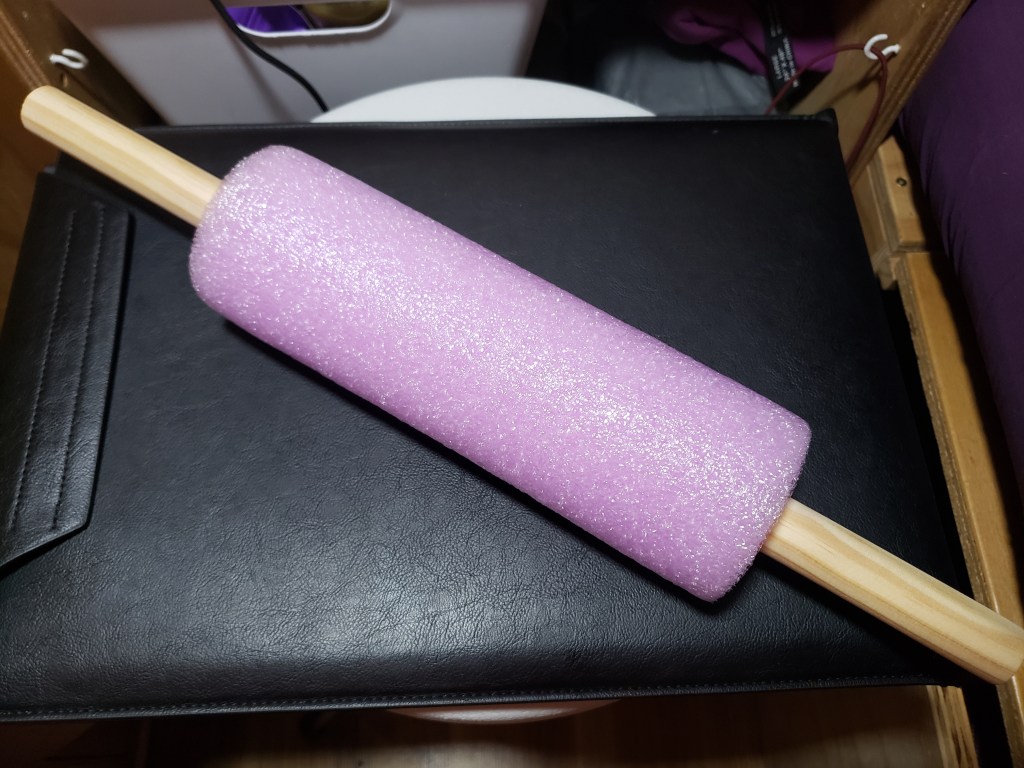
Super cheap muscle roller! Pool noodle and 22mm wooden dowel cut to desired size.
In the end, making our own gear has opened so many creative pathways for both of us, and we’re excited to keep expanding our skills and knowledge!
Thanks for reading!
–Cameron
